Fotomoto can be used to sell images on your Concrete5 website. Please read this article for instructions on how to install Fotomoto on Concrete5.
Important! Before you begin...
You will need to have a Fotomoto account - if you don't already have one you can sign up here.
-
Get the Fotomoto Script
Go to the Settings page of the Fotomoto Dashboard, click the Get Script button and copy the Fotomoto Script. -
Create a Stack for the Fotomoto Script
a. Click Dashboard then click Stacks.
b. Click Stacks, give the stack a name like "Fotomoto Script" and click Add. -
Add a Block to your Stack
a. Click the Stack you just created
b. Click Add Block. Scroll down, select HTML Block
c. Paste the Fotomoto Script in to the Add HTML window and click Add. -
Add the Stack to the desired Page Type
a. Go back to the Dashboard and click Page Types
b. Click Defaults next to the Page Type that you want to sell images from, for example Blog Entry.
c. Click the Add to [page type] Footer field and select Add Stack from the pop-up menu.
d. Select the Stack you added in step #, for example "Fotomoto Script"
e. Roll your mouse over the Editing menu item and click the Publish My Edits button. -
Success!
Your blog should now have the Fotomoto Buy Buttons underneath the images on your Concrete5 pages.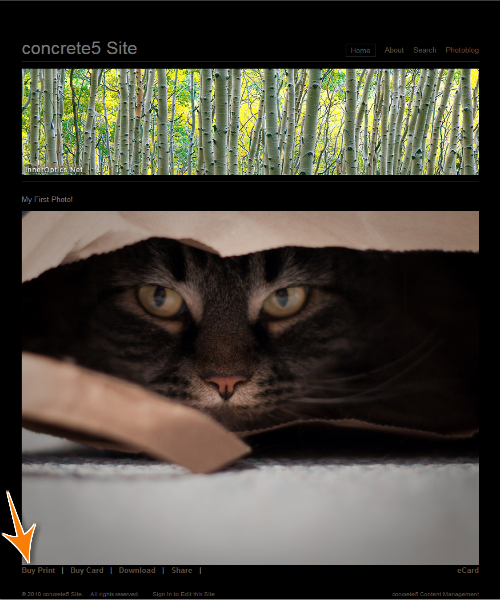
Now that you've installed Fotomoto on your site, you might want to read our article "I've installed Fotomoto - now what?".
If you have trouble installing Fotomoto on your site, take a look at the Troubleshooting articles in our Support Center or contact Fotomoto Support for help.